/2 headlight assembly
I hope that you will find answers to your questions about the assembly of the
headlight parts. The parts underwent some slight cosmetic changes over the
production years of 56 thru 69, but were all interchangeable. A turnsignal
indicator light was added to the US models.
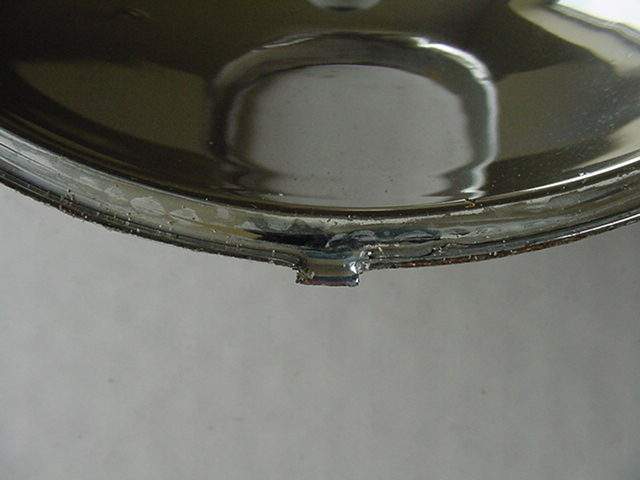
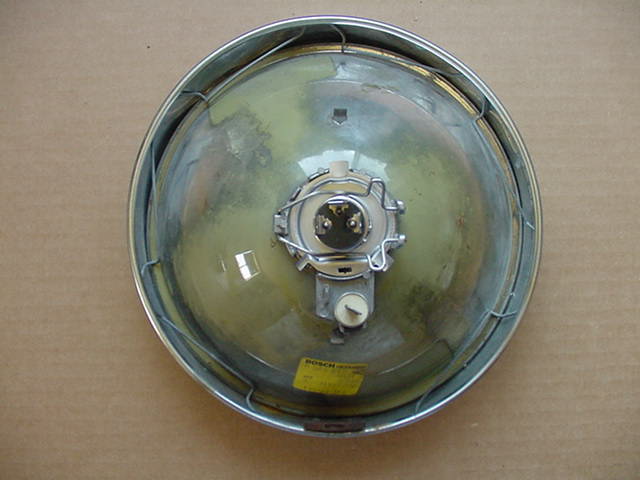
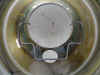
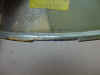
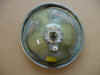
This is the reflector and that tab is located at the very
bottom to help orientation.
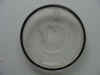
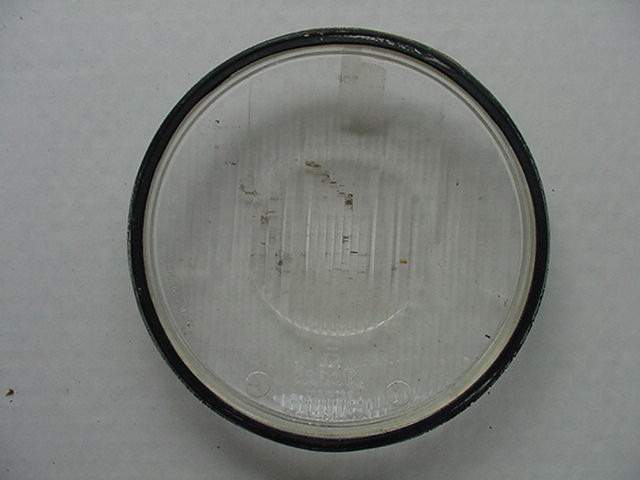
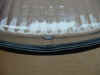
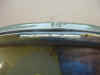
This is a typical lens with the rubber gasket mounted. The stock gasket
has "ribs" on the outside and the smooth side goes against the glass. In
the absence of a proper gasket, black plastic, or cloth electrical tape will
work. Probably any "thick" tape would work.

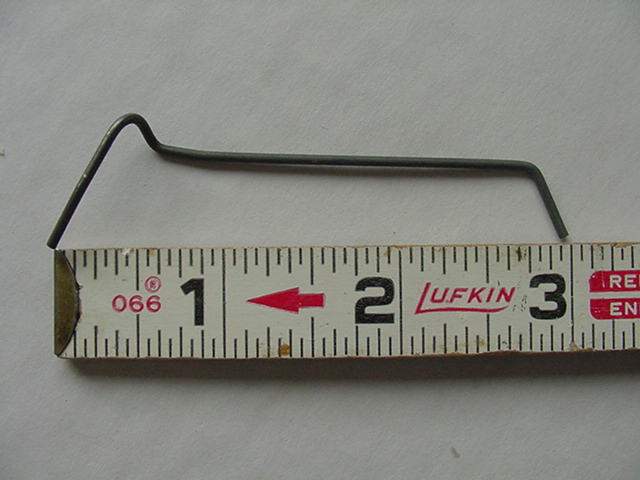
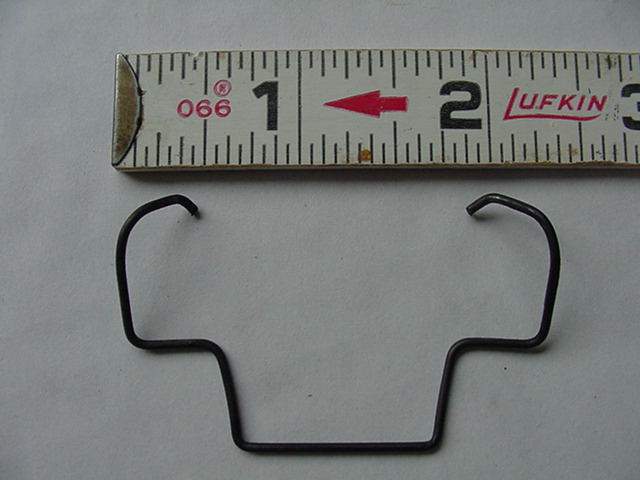
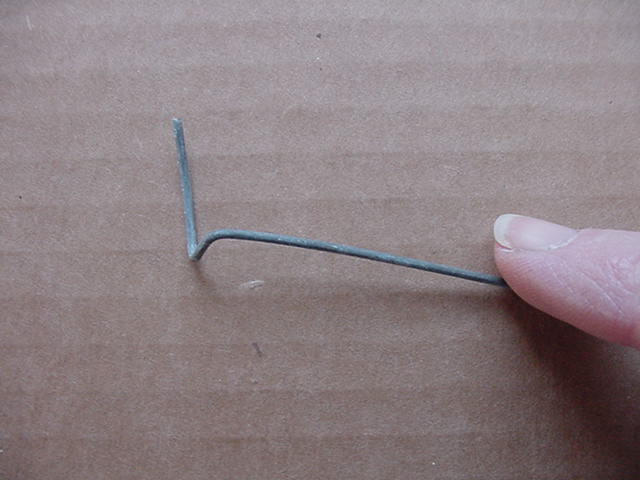
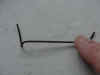
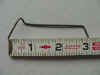
This spring, is one of 5 used on the /2, /5 and /6 series. They were
used from the late 30's thru the late 70's or later. The left end has the
"hook" on it to be started first in assembly. These springs can be
reshaped as needed and this one is perfect.
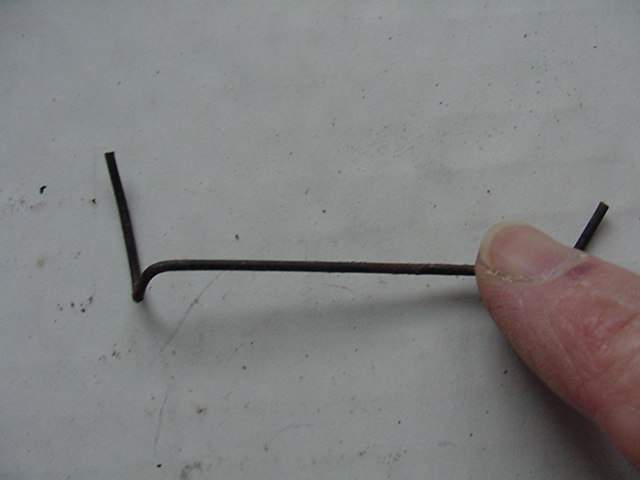
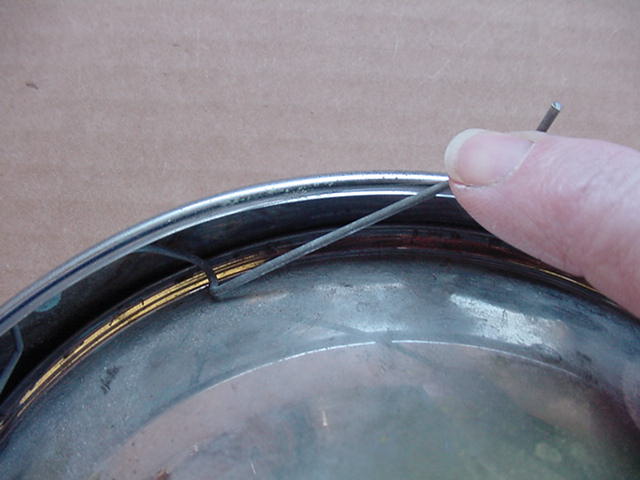
This shows how your finger must be used in mounting the
spring.
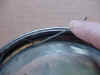
The hook is started under the rolled edge of the rim and the index finger on
your right hand pushes the right end down and under the rim edge. The
spring was designed for a right handed person.
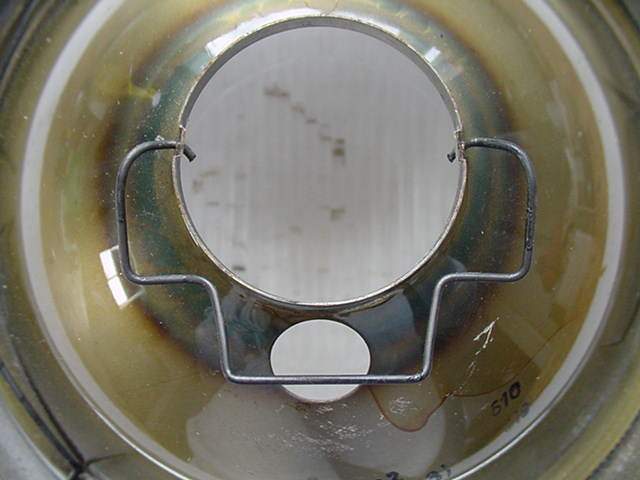
The spring "installed" properly. One is next installed nearly opposite
to hold the lens/reflector centered while you install the remaining 3 springs.
Often, one or more springs have been lost and the assembly can get along with 4,
but 3 is too few. Do not allow the springs to overlap each other, as it
makes removal harder.
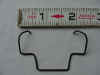
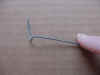
The bulb retainer spring to hold the bulb holder (socket) onto
the reflector.
Here it is installed on the reflector. Carefully install this spring.
It is very easy to bend it while trying to get the two ends hooked into the
reflector holes. Before the bulb and socket are set into the reflector,
the spring must be flipped upwards to allow the "park" light bulb to fit into
the small lower hole.
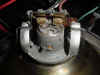
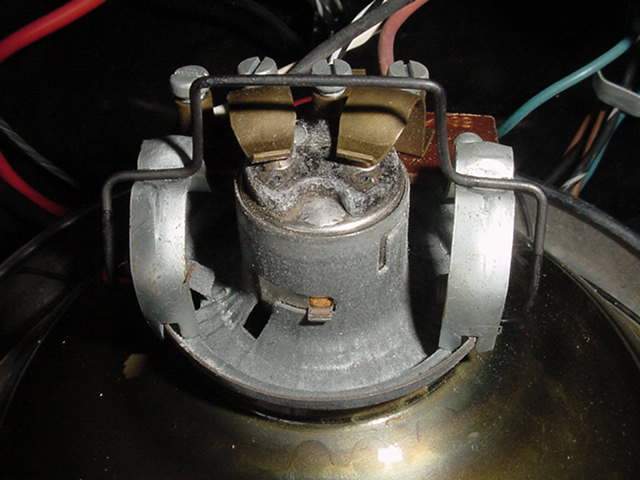
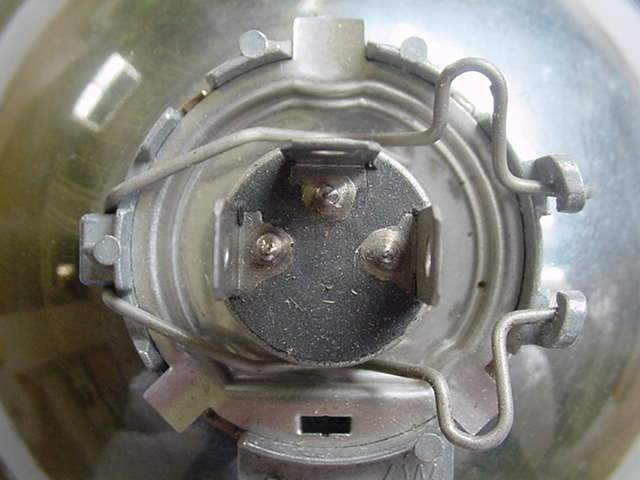
The spring and bulb holder in place.
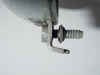
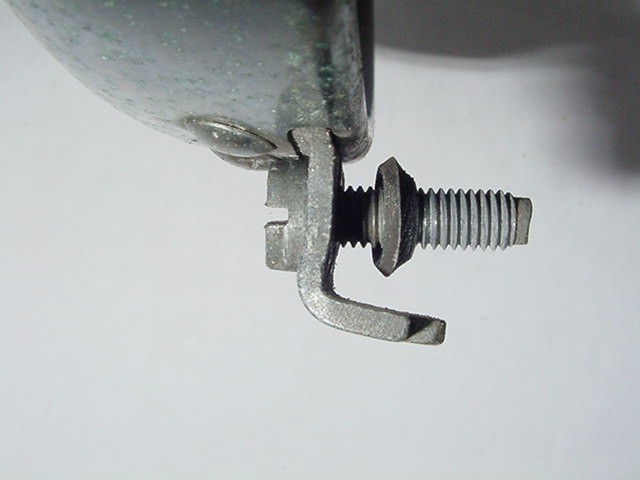
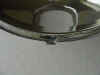
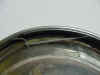
This shows to positive mounting of the rim to the headlight shell on the /2
only. The washer is made of rubber and its purpose it to retain the bolt
so that it doesn't fall out and get lost. If the shell and rim are
perfectly round, then the retainer bolt will go in by finger. The
headlight assembly would stay in well by itself, the bolt it only for insurance.
If either is distorted in the slightest the rim can jump off easily and the bolt
is necessary. This bolt doesn't need to be tightened up much. This
one is an example of over tightening. It has bent the locating tab under
the bolt, downwards just a bit. The tab should be horizontal.
The /5 BMW motorcycle assembly
I don't currently have one around to photograph. It is almost the same
as the /2. The rim has no retainer bolt and is prone to jumping off
easily. It falls and hits the fender and if one is lucky, the wiring will
keep the entire assembly attached and it won't self destruct. The assembly
can be safety wired onto the shell at the bottom. There is just enough
room to get wire in the holes. Photos of similar perspective of the
differences are invited. You will be given credit/blame for them, thanks.
The /6 BMW motorcycle assembly
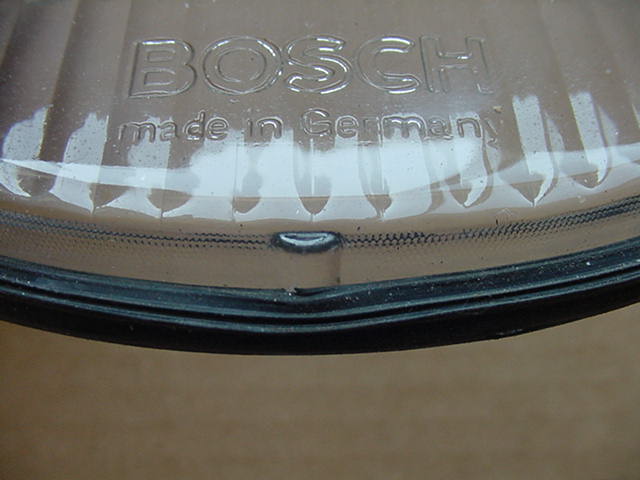
The /6 assembly has a couple of differences. It is larger and was the
first motorcycle approved for a halogen bulb in the USA. Finally one could
ride at night and see. It uses 6 springs to mount the reflector into the
rim. They often get lost and you must have three at a minimum, but 4 are
far better and stable enough. The bulb holder was also changed. The
mounting of the assembly is precarious at best. The whole assembly can
fall off of the shell and onto the front fender. Only the wires hold it
from falling onto the road. We usually used some tape down at the bottom
to hold it to the shell.
The lens has a locating "bump" in the glass. The rubber gasket is the
same as the earlier ones, just larger.
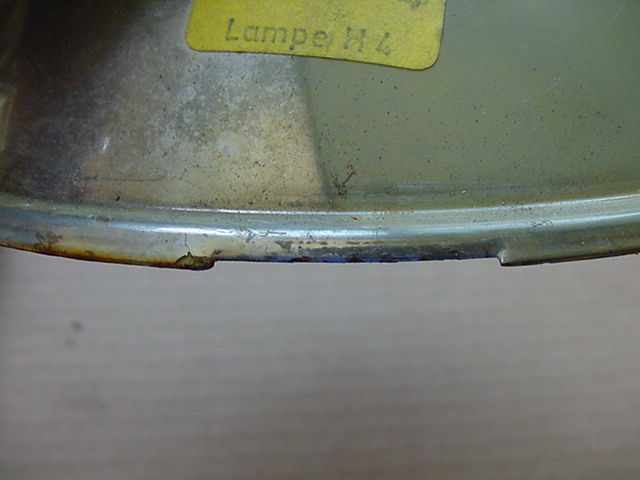
The bottom of the reflector has a different way of locating. The
"notch" is wide to accommodate the wider retaining mechanism in the shell.
The text shown on the sticker is telling you that it needs the (at the time) new
H4 bulb.
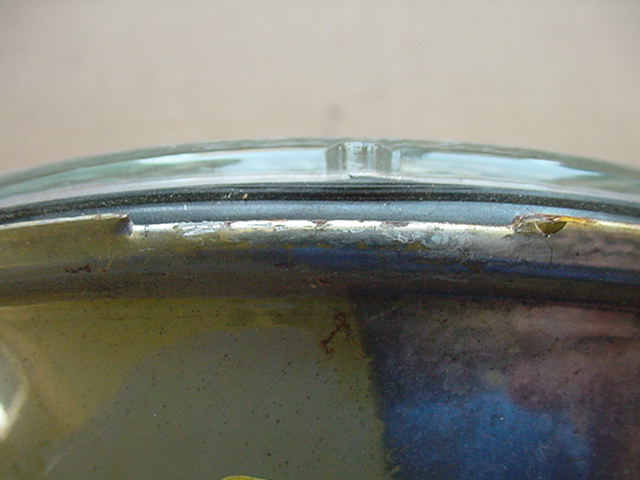
The "bump" in the glass lens is centered in the "notch" of the reflector.
I see that I didn't get this one quite perfect. It will work.

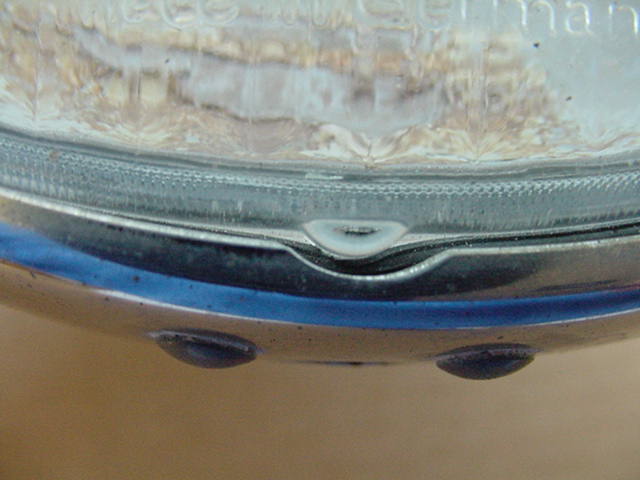
The lens and reflector are set into the rim so that the lens
"bump" is located in the rim cut out, as shown.
The exact same spring as used in the /2 and /5, but 6 are
employed.
You will use your right index finger to install the spring as
shown.

Install one and then the second one on the opposite side.
Space all 6 about evenly, but don't allow them to overlap.
The 6 springs are installed.

The bulb holder spring holding the bulb and holder in place. The bulb
holder has indexing marks and may take some tries to get the bulb holder seated
properly. Don't force it.
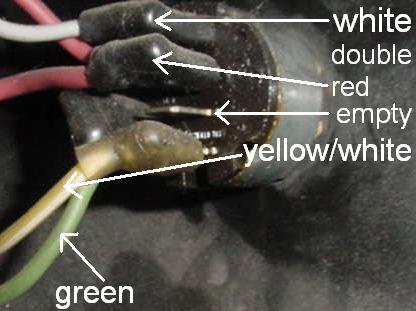
The /6 ignition switch
The /6 came out in 1974 with the first real key tumbler type lock. In
74 it has 5 positions, but in 75 and 76, only three positions.

This shows the switch in position and the color of the wires.
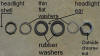
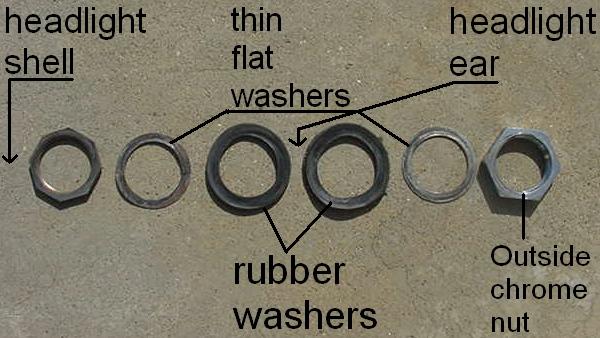
This shows the switch hardware from the front of the bike. The two
rubber washers are on each side of the headlight ear. The rubber allows
the headlight shell to be moved up and down for high beam adjustment. The
headlight shell would be on the far left side. The outer chrome nut on the
right must be only snug enough that the headlight doesn't change position, but
still allow for adjustment.
My BMW original parts book fails to show these parts. I am assuming
that I have them all, but it is only by memory. If you see an error,
please let me know.
|